
Application Guide
Build a controlled mold polishing sequence
Mold polishing is easier to repeat when the abrasive, contact area and working direction are chosen from the actual feature rather than from a generic grit sequence. Start by recording the mold steel, hardness, heat-treatment condition, EDM layer or cutter marks, corner radii, ribs, slots and final surface target. Use that information to separate stock removal from final finishing.
Match the stone family to the job
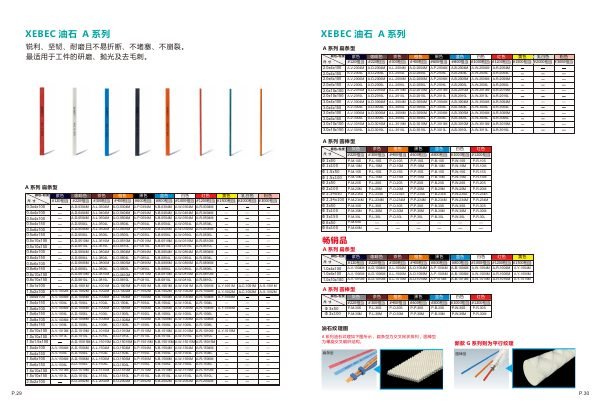
The XEBEC A and G ceramic-fiber stone families cover general grinding, deburring and mold finishing. The supplied catalogue also lists diamond ceramic-fiber stones for hard materials above HRC57, heat-resistant stones for ultrasonic polishing applications, elastic stones for flexible contact and pen-type stones for narrow features. Select the holder and stone cross-section so the abrasive reaches the feature without forcing the tool or rounding a critical edge.
Control each transition
- Remove the EDM carbon layer or deep cutter marks before moving to a finer stage.
- Keep pressure and stroke direction consistent so scratches reveal the result of the current step.
- Clean the workpiece and holder between stages to prevent coarse particles from contaminating the next finish.
- Inspect edges, corners and sealing surfaces under consistent lighting before accepting the result.
Powered or ultrasonic tools can improve access and consistency, but the current product manual, suitable holder and safe operating conditions remain decisive. Send the mold material, hardness, feature dimensions and target finish for a focused product match.