Application Guide
Start with the burr, not the tool
A repeatable deburring process begins with the burr location, size, root thickness and direction. Record whether the edge is external, inside a bore, at a cross hole, on the back side of a drilled feature or on a three-dimensional surface. Also define what must remain unchanged: edge break, hole diameter, flatness, surface finish or a sealing face.
Choose the contact method
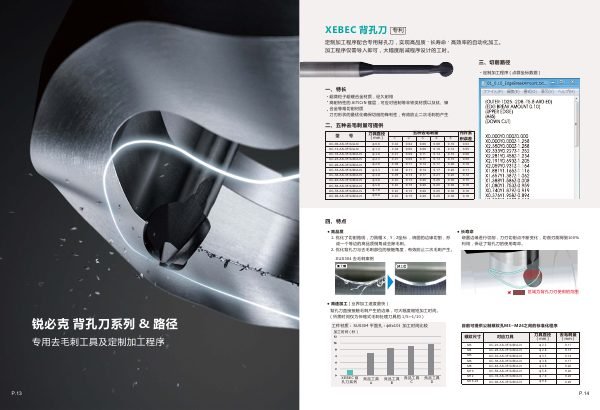
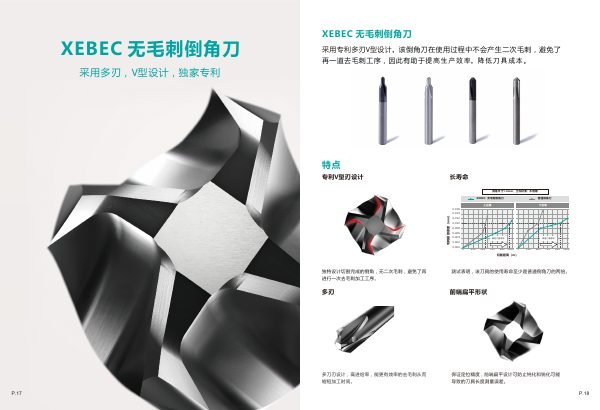
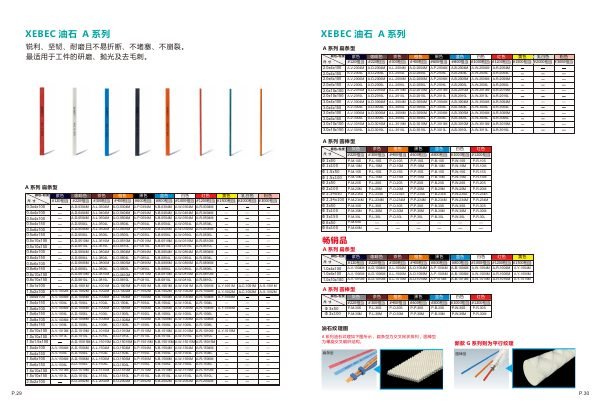
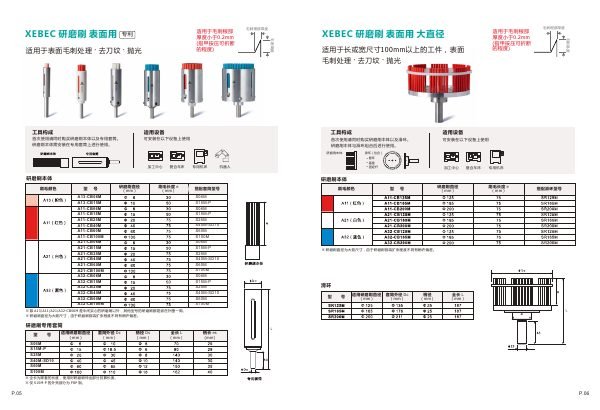
Surface brushes suit accessible edges, cutter-mark removal and broad finishing areas. Internal and cross-hole brushes are intended for bore walls, intersecting holes and deep-hole features. Back-burr cutters can automate upper and lower hole-edge work when the cutter and toolpath match the geometry. Burr-free chamfering cutters address hole-edge chamfering where avoiding a secondary burr is important. Ceramic-fiber stones and elastic grinding rods cover localized hand finishing, grooves and restricted access.
Prove the process on a representative part
- Inspect the edge before and after processing with the same magnification and lighting.
- Verify that the burr is removed without changing a critical dimension or rolling material into the opening.
- Record tool projection, spindle direction, feed path, contact time and wear condition.
- Confirm that chips and removed burrs cannot remain trapped in the component.
Automation is valuable only when the path, access and inspection method are repeatable. Share a drawing or clear photographs of the burr and the surrounding geometry so the correct brush, cutter, stone or rod family can be narrowed down.